Menu
 

Introducing the New Look of Self-Service

Mt. San Antonio College (Mt. SAC) is preparing to transition from Self-Service Banner 8 to Self-Service Banner 9, bringing a more modern, user-friendly experience to students, faculty, and staff. While this upgrade primarily focuses on a refreshed user interface (UI) with improved navigation and a mobile-friendly design, the underlying data and processes will remain the same.

This transition is mandated by Ellucian, as Self-Service Banner 8 will no longer be supported. Additionally, implementing SSB9 is essential for compliance with AB 1111 Common Course Numbering (CCN) requirements. Upgrading to SSB9 ensures continued regulatory compliance while enhancing operational efficiency and positioning Mt. SAC for future innovation.

Stay tuned for more details on what to expect and how you can prepare for Banner 9!

Information packet from Ellucian SSB Preview


  • Registering for a Class

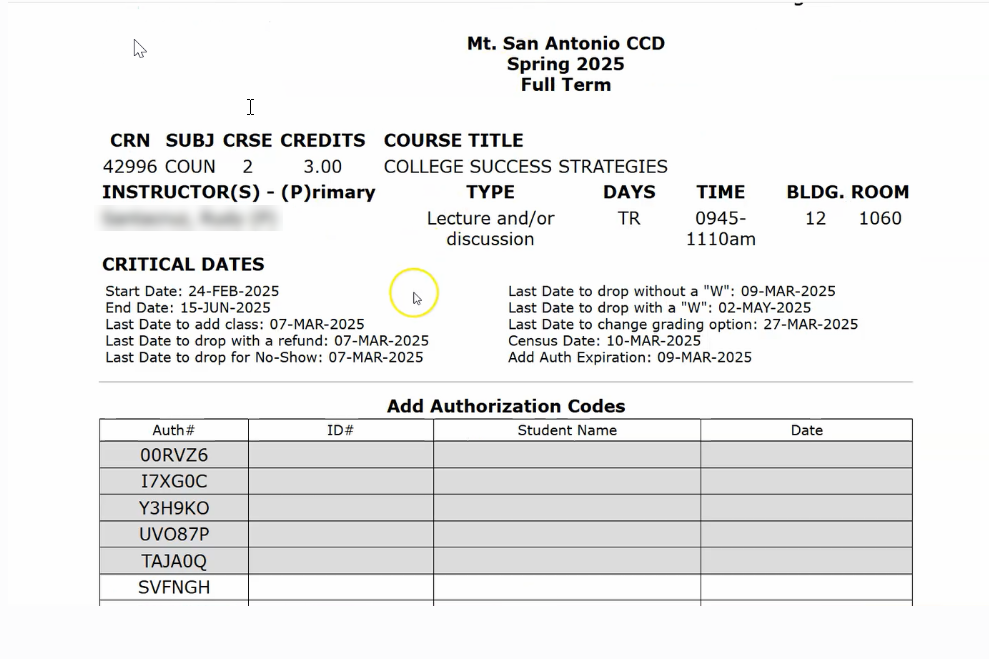
    Registering for a Class with an Add Code

  • Registering for a Class with a Waitlist

    Registering for a Class with a Time Conflict

Give us your feedback on the new Self-Service Portal and be entered into a drawing to win a $10 Starbucks gift card.

Launch of the upgraded experience is planned for May 5, 2025.


FAQs

    • Why is Ellucian announcing a change in support status to Self-Service Banner  8?
      Ellucian is transitioning Self-Service Banner 8  to a maintenance support status until September 30, 2025, and then to End of Life on January 1, 2026, as part of their modernization efforts, which offers an improved user experience and enhanced features.  
    • What does End of Support mean?
      End of Support occurs when a release or product is no longer supported by Ellucian. In most cases, Ellucian will have made newer releases or alternative products available that fulfill the same or similar needs well before releases or products move to this status.  When a release or product is in End of Support status, documentation, previously released fixes, and other content associated with the release may no longer be available, and there will be no new software releases, regulatory updates, technical or functional enhancements, patches or hot fixes of any kind.
    • How do I get to Banner Registration?
      - Log in to inside.mtsac.edu
      - In the portal click Student Self Service
      - Click the Registration link
      - Log in using your portal log in
    • How do I see if I am eligible to register? 
      - In Banner Registration, click Prepare for Registration
      - Select the term you wish to check
      - Click Continue
      - Your student status, academic standing, holds, and time ticket will be displayed
      - If any of these items will prevent registration, they will be indicated by a red exclamation point
      - If all items have a green check mark, you are eligible to register
    • How do I search for classes?

      - In Banner Registration, click Search Classes
      - Select the term you wish to search
      - Click Continue
      - Enter your search criteria
      - You can search for one or more subjects
      - You can search by the course number
      - You can search for a keyword
      - You can search using the advanced options, such as day of the week, time, campus, instructor, and more
      - When all of your criteria has been entered, click Search
      - All of the courses that match your criteria will be displayed
      - Click on the course name to see more information about the course

    • How do I register for classes? 

      Registering for a class

      Registering in the waitlist class

      Registering in Time Conflict

      Register using an add code

      - In Banner Registration, click Register Add/Drop/Withdraw
      - Select the term you wish to register for
      - Click Continue
      - Enter your search criteria
      - Click Search
      - All the courses that match your criteria will be displayed
      - Click Add for the course you want to register for
      - The course will be displayed in your schedule
      - Click the Summary tab
      - The course will be listed as Pending
      - Click Submit to attempt to register for the course
      - If unsuccessful, the reasons why will be displayed in the notification center in the upper right of the screen
      - If successful, the course will be listed as Registered in the Summary tab
      NOTE: if you received a closed-class override from a course instructor, use the Enter CRNs tab of Banner Registration to register for the class, as the class will continue to show closed in the Class Schedule Search.

    • How do I drop a class? 
      - In Banner Registration, click Register for Classes
      - Select the term you wish to drop from
      - Click Continue
      - Click the Summary tab
      - For the course which you wish to drop, select Web Drop from the Action dropdown list
      - Click Submit
      - The course will be listed as Deleted
    • How do I swap one class for another (swap/drop)?
      - In Banner Registration, click Register for Classes
      - Select the term you wish to swap for
      - Click Continue
      - Search for and add the course you wish to swap for
      - Click the Summary tab
      - For the course which you wish to drop, select Web Drop from the Action dropdown list
      - Check the Conditional Add and Drop box
      - Click Submit
      - If unsuccessful, the reasons why will be displayed in the notification center in the upper right of the screen.  You will not be dropped from the original course
      - If successful, the swapped course will be listed as Registered in the Summary tab.  The original course will be listed as Deleted
      - After the add/drop deadline, please contact the Admissions' Office at admissions@mtsac.edu to request a swap/drop. You will need instructor permission to be registered in any class after the add/drop deadline.
    • How do I get a copy of my schedule? 
      - In Banner Registration, click Register for Classes
      - Select the term you wish to get a copy of your schedule
      - Click Continue
      - Click on the Schedule and Options tab
      - Click on the Email icon to send a copy to yourself and others if you wish
      - Click on the Print icon to print a hardcopy version
    • How do I make a plan? 
      - In Banner Registration, click Plan Ahead
      - Select the term you wish to plan for
      - Click Continue
      - Click Add a New Plan
      - Search for and add any courses or sections to your plan
      - When finished, click Save Plan
      - You can create up to four plans
    • How do I register from my plan? 
      - In Banner Registration, click Register for Classes
      - Select the term you wish to register for
      - Click Continue
      - Click the Plans tab
      - Click Add next to any sections you wish to register for
      - In the Summary tab, click Submit to attempt to register
    • How to register for a waitlisted class?